How Do I Manage Product Categories in WooCommerce?
- Log in to wp-admin with user name and password.
- In the dashboard, hover over “Products” and click on the dropdown for “Categories”.
- To the right, you will see the categories that are currently in the system with the count of products already in the system.
- Before you make categories, plan out the top-level categories you are going to have and any subcategories under each of the main categories.
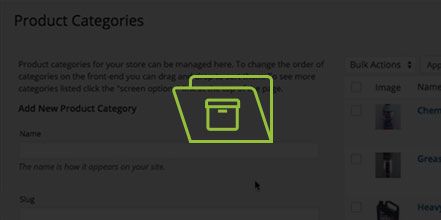
(If you are going to make a category make sure you have at least 5 products in a category. You shouldn’t really make a category to have one or two products in it.) - Under “Name”, enter your category name.
- Under slug, enter the URL friendly version of the name with only letters, numbers, and hyphens (Ex: text-category).
- Under Parent, if it is a top level category you will not select anything here. If you have a subcategory you will select what parent category you want to to go under.
- Under description, enter a description for the product category (this is optional because in some cases it will not show depending on your theme).
- Under Display type, you can leave this as is by default.
- To add an image, click “Upload/Add Image” and add an image already in the Media Library or Upload Files to choose an image from your computer.
- Click “Use Image”.
- Click “Add New Product Category”
- To delete a category, hover over your category name and click “Delete”.