How Do I Add Products in WooCommerce?
- Log in to wp-admin with user name and password.
- In the dashboard, hover over “Products” and select “Add Product”.
- Create a descriptive name with product type added at the end. Consider SEO stuff to help people find your page (Ex: Valvoline All Fleet 15W40 Heavy Duty Motor Oil).
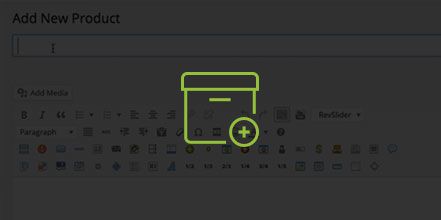
- Write the long description in the box below the name and the product short description.
- Go over to the right and select the Product Categories that the product will fall under (you can select multiple categories).
- Under Product Tags you can put the brand of the product.
- Under WordPress SEO by Yoast, the snippet is showing you a preview of what the search result may look like in Google.
- Add your Focus Keyword and it will tell you if there is anywhere else you need to include the keyword (Ex: Meta description)
- SEO title allows you to overwrite what the title is going to be.
- Meta description has no effect on helping you rank but it does have an effect on helping people decide whether or not to click on your ranking in Google.
- Click “Set Featured Image” and select an image to be featured from the media library or upload a file from your computer.
A. To the right under the title, make sure that it is specific to the page it is on. You can copy the title from the page and paste it in.
B. Paste the title in the alt text.
C. Click “Set Product Image”. - Go to “Product Data” and you can choose a simple product which only has one price. If you have sizes change it to a variable product.
a. If the SKU does not vary no matter what size they choose then you will place it under SKU. If the SKU is different based on the option or size then leave that area blank.
b. Linked products is a way to do upsells and cross-sells.
c. In Attributes click “Add” and name the attribute and check the box for visible on the product page and used for viewing variations. You can add multiple values and separate them with a pipe symbol like this 4 oz|8 oz|12 oz.
Click “Save attributes”. - In Variations, click “Link all variations”. This will spit out all of the variations of the product according to the product options.
A. You can also select an image at the left from the media library and click “Set variation image”.
B. Add an SKU number.
C. Enter a regular price. - Click to “Publish” the page.
- Click to “View Product”.
YouTube Video: https://www.youtube.com/watch?v=tNoK5obUPPY&feature=youtu.be