How Do I Edit Slides in WordPress LayerSlider?
- Log in to wp-admin with user name and password.
- In the dashboard, click “LayerSlider WP”.
- Click “Pages” in the dashboard and select the page the slider you want to edit is on.
- Click “Edit”. (Remember the name of the shortcode on the page under “Layer Slider” to compare with the name of the shortcode in LayerSlider.)
- In the dashboard, click “LayerSlider WP”.
- Select the slider you want to make changes to by clicking on the name of the slider. Verify it is the correct slider by comparing to the shortcode that was on the page.
- At the top you will see the different slides that are in the slider. You can click on each one to see the different images and text in each slide.
- To change the background on a slide, choose the slide and at the top it will say “Slide Image”.
- Click on the image and choose from the “Media Library” or “Upload Files” to select an image from your computer.
- Once you upload the image you click on the image in the media library and click “Insert”.
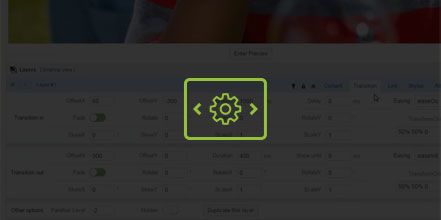
- To make changes to the content, click on the text area and down below it will show that area.
- In the layer by default it might show “Transition” and you want to switch that to “Content” to make changes to the text. (NOTE: To make sure text kicks down to the next line you can add
after lines of text. To make the text bold you can add strong tags to either side of the text. Ex: COUNTY COMMUNITY and this will make the text bold. You can also click and drag the text box around to position it where it looks best with your background selection.) - Once the text has been changed click “Save Changes” and the changes will automatically update on the page the slider is on.
YouTube Video: https://www.youtube.com/watch?v=jWeXcmVenzM&feature=youtu.be