How Do I Set Up Gravity Forms in WordPress?
Gravity Forms is a basic WordPress contact form that is simple and effective to use. It makes it very easy to customize, add, and remove fields. Whether you want to add a simple contact form or a more detailed field, a few simple clicks allow for an easy setup.
Plugins like Gravity Forms are extremely effective tools of digital marketing as they make it easy for users to fill out required information and to redirect from page to page (or simply to a new form/field).
- Log in to wp-admin with user name and password.
- In the dashboard, click on Plugins.
- Scroll down to see if Gravity Forms has been installed on your site.
A. if not follow these steps - In the dashboard, click on “Forms”.
- Click “Add New”.
- Add a title to the form.
- Click “Create Form”.
- Click and drag any on the Standard or Advanced Fields you want to include in your form.
- You can customize the field and select “Required” under Rules if you want to make this a required field on the form.
- If you add a checkbox field you can enter text under Choices for the user to select from.
- The Paragraph field is a larger box that will allow for more text to be entered on the form (Ex: Questions or comments?).
- Once you have all of the fields you want for the form, click “Update Form”.
- If you click back on forms on the dashboard you will be able to see the new form you created and see the number of people that view your form and Conversion (number of people that fill out the form).
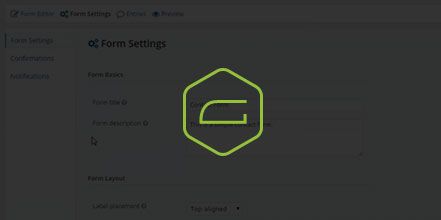
- If you want to see who the emails are going to click on “Settings”
A. You can change the Label placement (top aligned, left, etc…)
B. On the left click “Confirmations” to change the message that pops up when someone submits the form under “Content”. (Ex: Thanks for contacting us! We will get in touch with you shortly.)
C. On the left click “Notifications” to set the email to go to certain people. You can send tot eh admin email of your site or add multiple people (add a comma after each email you add in).
D. Once you have all of the settings the way you want, click “Preview” to see what the form looks like. - In the dashboard, click on “Pages”.
- Select the page you want the form on and click “Edit”.
- If you are using Visual Composer, you can click on + icon to add Gravity Form.
- Select the newly created form from the dropdown list. And choose if you want to display form title and form description.
- Click “Save Changes”.
- You can click the pencil edit tool on the column if you want to add a color background. And enter padding in CSS box.
- Click “Save Changes”
- Click to “Update” the page.
- Click to “View Page”.
- If you want the form box size to be smaller you can click on “Forms” and click on the field you want to change.
- Under Appearances, you can adjust the field height size (small, medium or large).
- “Click “Update Form.” (The changes to the form will update automatically and be viewable on the page.)
YouTube Video: https://www.youtube.com/watch?v=nvbcDEuVUfg&feature=youtu.be