How Do I Edit Photos in WordPress?
Here are the steps to upload, resize and crop an image:
- Log into wp-admin with your user name and password.
- In the dashboard, select the page or post you would like and click “edit”.
- Click to insert an image and a screen will pop up where you can “Select Files”.
- Select your file and it will upload (once it is done uploading it will show a thumbnail).
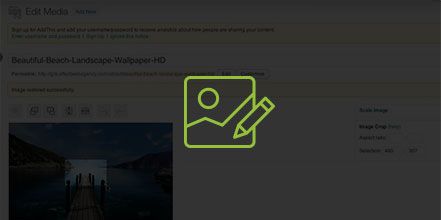
- To the right, click “Edit Image”.
- If you would like to bring the image down in size you can click on “Scale Image”.
- Type in the width or height that you want to scale the image by. (Ex: If you need your image to be 800 pixels in width you will enter 800 into the width field and it will automatically set the height field or vice versa.)
- Once you have entered the height or width you want the image to be then click “Scale” and it will save the image to the new size you set. (If you decide you want to restore the image to the original size you can click “Restore Original Image” and hit the “Restore Image” button.)
- To crop the image, click and drag to the area of the image you want. To the right, the “Selection” field shows you how many pixels are actually selected. (You can override the pixels under selection to make the pixels to the exact size you want. You can also move the crop box on the image slightly if you want to tweak the location a little.)
- Once the crop selection is at the perfect spot and dimensions you want, click the crop button. (This is the icon directly above the image to the very left.) Once cropped it will show you the bigger version of the cropped image.
- Click “Save”.
- The edit image buttons will allow you to rotate the image, flip it up and down or horizontally if you need to.
- To change the default caption, you can type what you would like it to be under “Caption”. (Depending on your website design or theme it may or may not display this on the public website.)
You can also add “Alternative Text” and a “Description”. Once you are done adding the text click “Update” to save the new captions. - To get the URL of the image you can copy the “File URL” field to link to it on a website page or use it on a different website.
YouTube Video: https://www.youtube.com/watch?v=wARK16IMlPc&feature=youtu.be